How to Add a Constant Contact “Join My List” Tab to your Facebook Fan Page
If you have a Facebook Page like us, interaction is an extremely important part of your social media strategy. So much so, that every part of your Facebook Page should have a call to action or something for the occasional visitor as well as for your biggest fans. So why not have a tab available right on Facebook where your visitors can add their email address instantly, without even having to go to your site? Constant Contact, our only permission-based email system partner and valued sponsor of Geek Girl Camp, makes this process so easy.
Of course in order to do this, you must already have a Facebook Page and a Constant Contact account. If you do not currently have a Facebook Page, we can help set one up for you! If you are not currently using Constant Contact, but want to, simply go here and signup!
Here is a step-by-step how to guide:
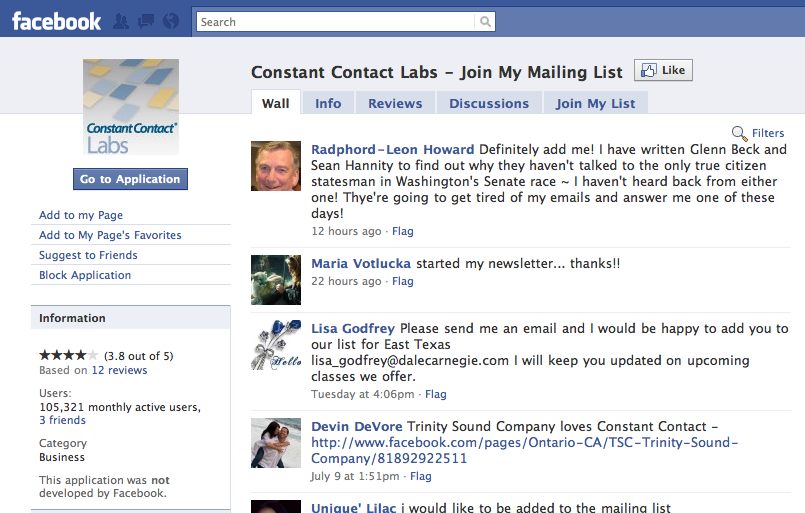
First, Go to the “Constant Contact Labs – Join My Mailing List” Application Page.
From this page, click on the “Add to My Page” link on the top left hand side.
Before you do that, why not “Like” this Page as well – there is a good chance you might receive some valuable resources and great update info right into your Facebook stream in the future!
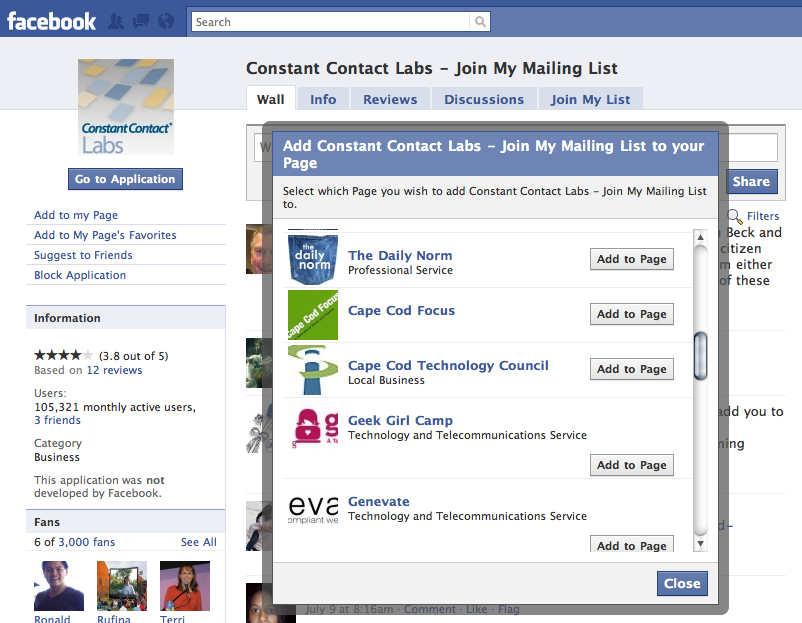
After clicking the “Add to My Page” link, a pop-up will appear.
Click the “Add to My Page” button, Then close the window.
From here, you need to mosey on back to your Facebook Page.
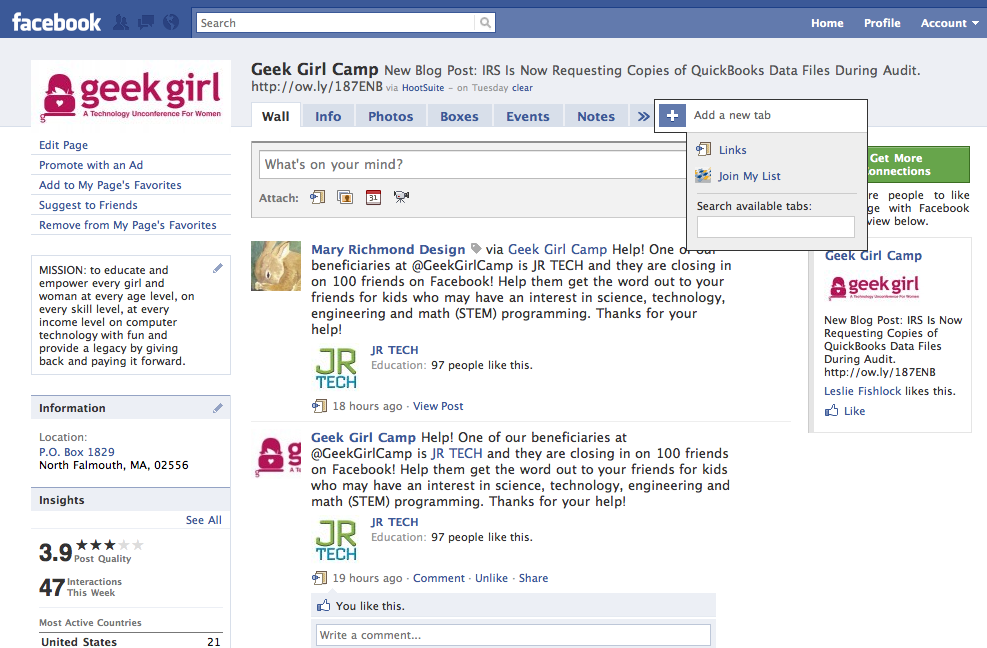
See where there is a “+” button on the top navigation? Click that and scroll down to where you see a tiny Constant Contact logo and select “Join My List.”
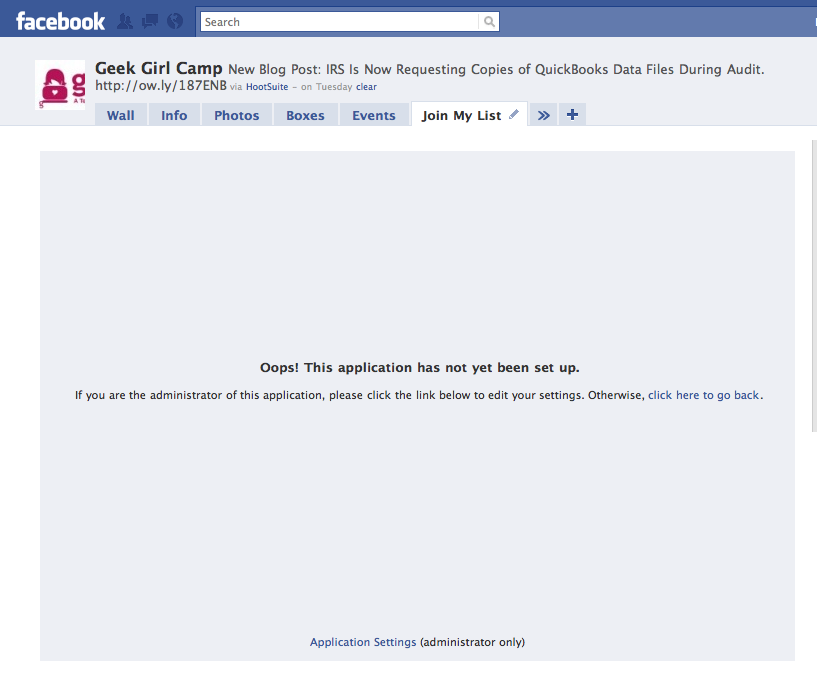
You will probably see the following page with a “Oops” on it. Do not fear. Just scroll all the way down and click “Application Settings”.
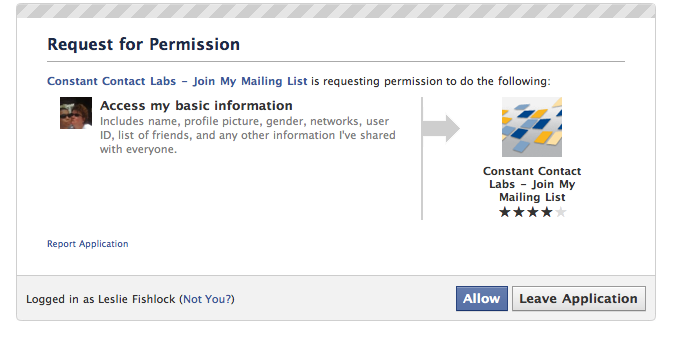
You will then have a small box appear. Click where it says “allow”.
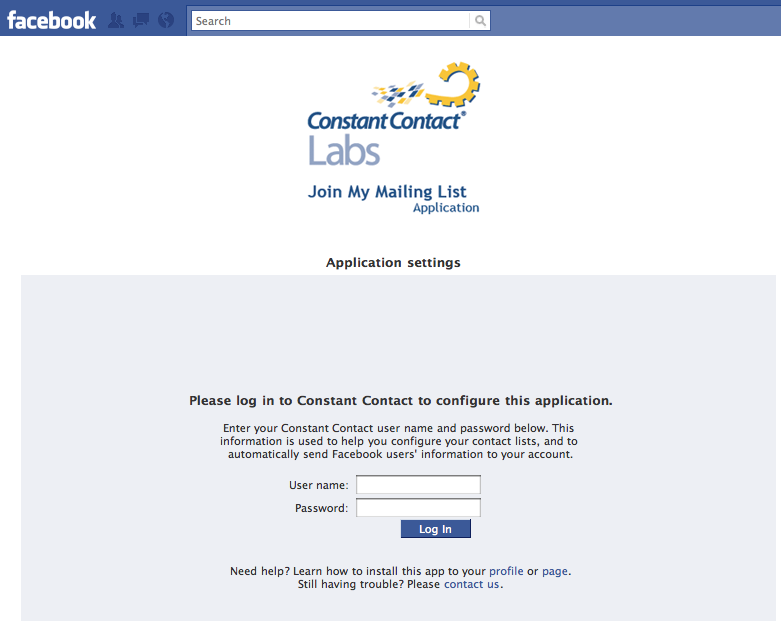
Follow the directions on the next page by entering your Constant Contact Username and Password, then just click the “Log In” button.
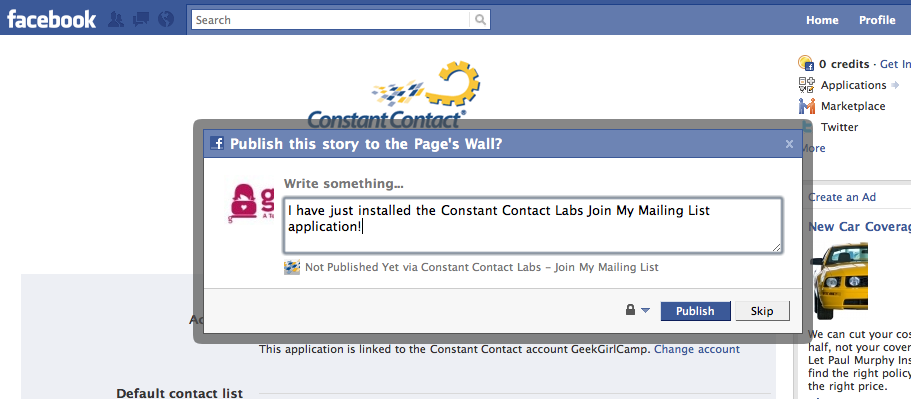
Then, a small box will appear to ask if you want to publish to Facebook an update for your users to see on what you just did. Go for it! Let everyone now know you have the application installed so people can signup for your emails right on Facebook.
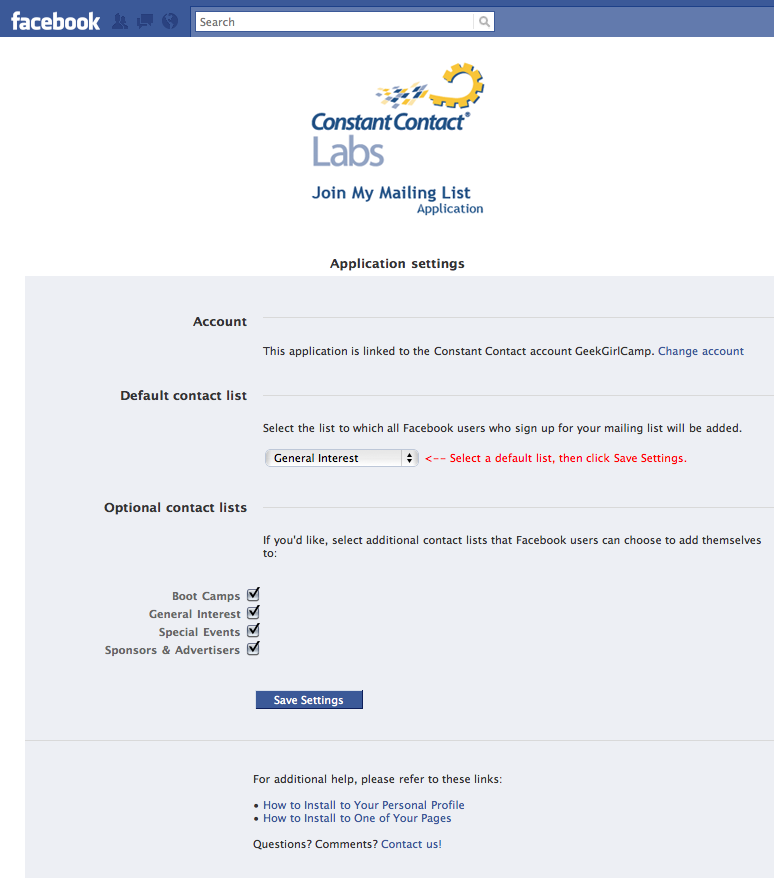
Select from your default list on the dropdown where you want the emails to go to and check off any other lists you want displayed. Finalize this by clicking the “Save Settings” button.
Voila! All done! When you go back to your Page, you will now see a “Join My List” added to your fan page navigation.
And, if you want this button front and center, just drag and drop it to where you would like it. Easy cheesy!
Always remember that the more choices you provide your visitors – without overwhelming them – is always a good option for interaction. This makes it so easy for people coming to your Page to just signup for your newest emails.
Now you just need to make sure your emails are dazzling and deliver your message!
But that’s for another TechByte in the works…stay tuned!
And don’t forget to “Like” our Facebook Page and get tons of awesome resources, offers and info on events!
Filed Under: eMail Tips • How do I... • Social Media • TechBytes


